
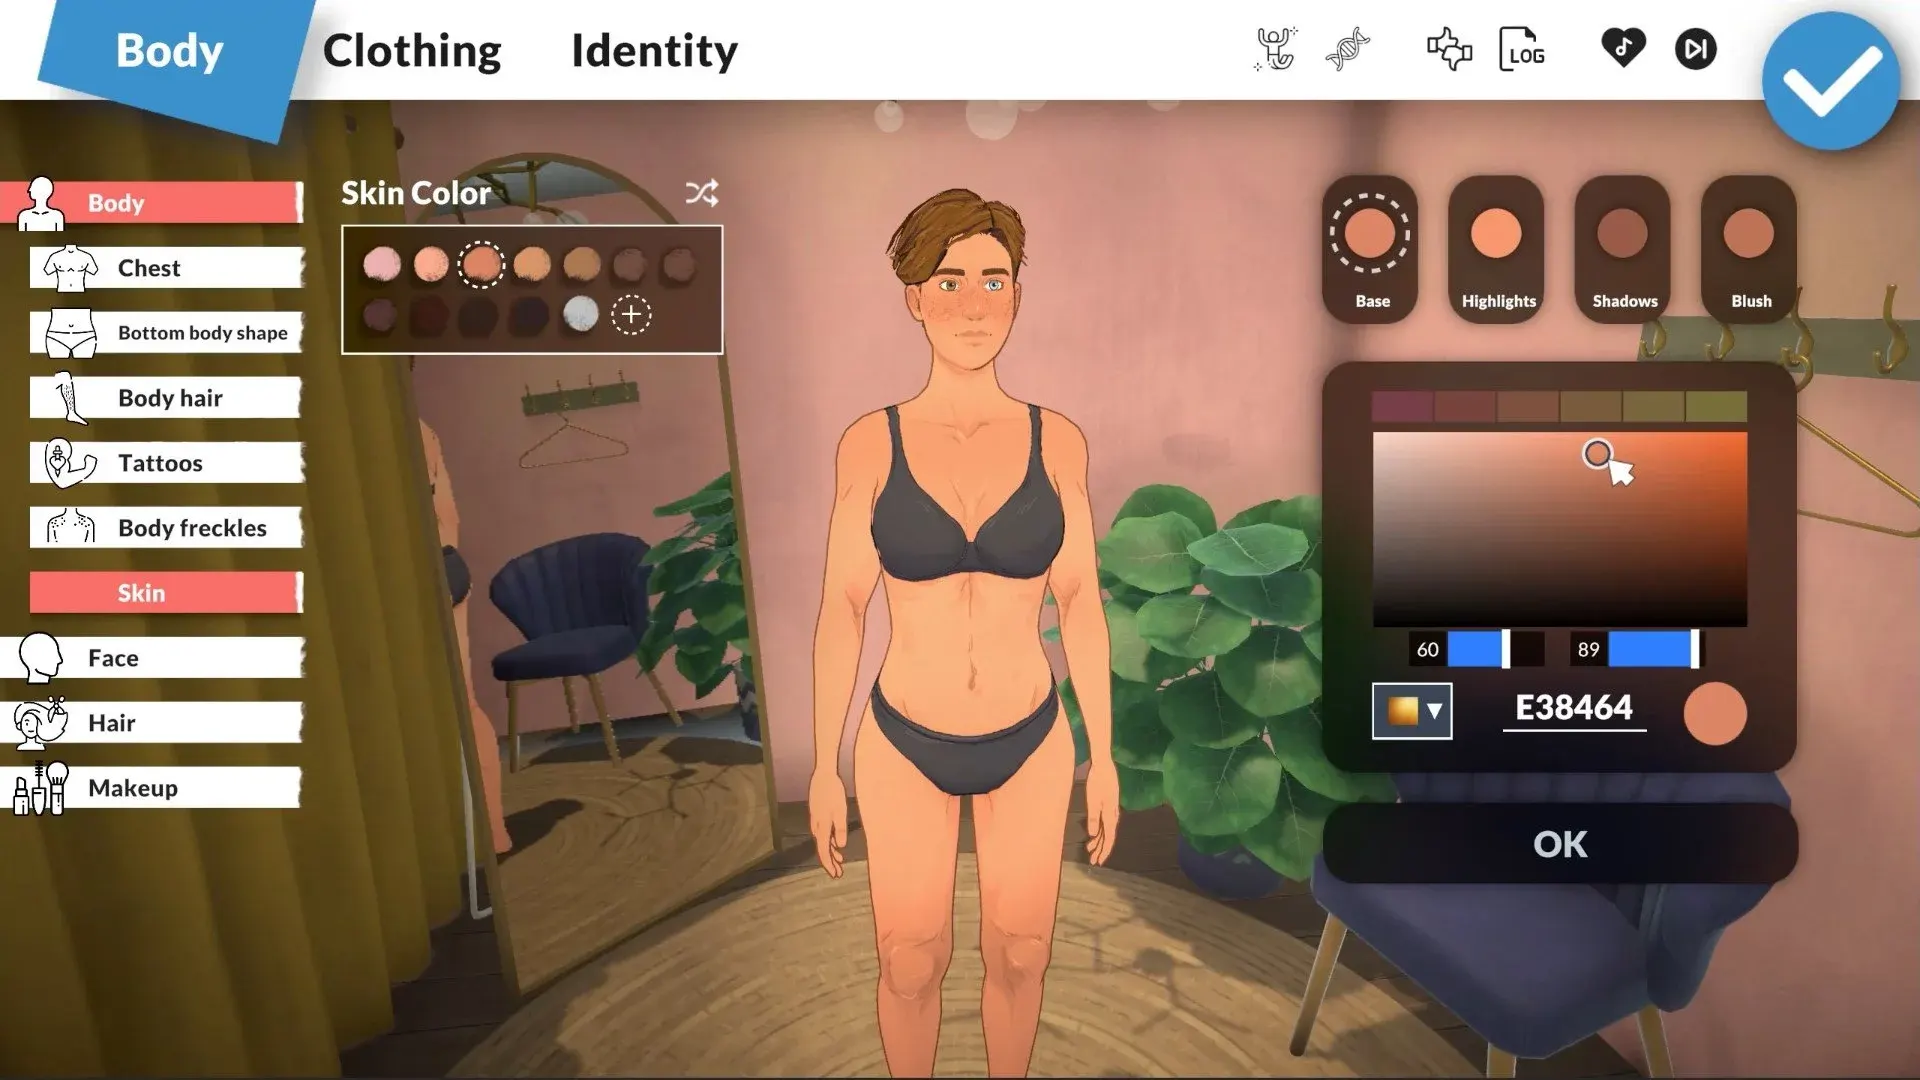
Custom content — usually shortened to CC — is player-made art that plugs into Paralives without touching how the game plays. Think clothing, hair, furniture, wallpapers, terrain textures and Paramaker presets. It's the safest, easiest way to make your Paralives world feel uniquely yours.
CC vs gameplay mods
Custom content adds assets. Gameplay mods change game logic — new traits, edited needs, rewritten interactions. CC almost never breaks when Paralives updates, while gameplay mods often need a patch from the creator first. If you're new to modding, start with CC.
Where to get Paralives CC
- Steam Workshop — the safest, auto-updating source. Most CC creators publish here first.
- Nexus Mods (nexusmods.com/paralives) — large catalogue with version flagging.
- CurseForge (curseforge.com/paralives) — popular for translations and UI packs.
- Official creator Discords — early-access drops before public release.
Installing CC
Workshop CC is one click: hit Subscribe and it appears in your in-game Mods list. Manual CC follows the same flow as any other manual mod — see the Paralives install guide for the full walkthrough.
Organising a growing library
- Keep a simple naming convention: creator-itemtype-shortname (e.g. lana-sofa-cottage).
- Group manual CC into subfolders by category (Furniture, Clothing, Hair, Lots) inside your Mods directory.
- Maintain a plain-text note of which CC packs require which Paralives version.
- Back up your Mods folder before any major Paralives patch.
Performance tips
- Each CC item adds a small load on memory and game start time — don't install everything at once.
- Prefer mesh-optimised CC; some older items use unnecessarily heavy textures.
- If load times spike, disable half your CC and re-enable in batches to find heavy outliers.
Build your library
Ready to grow your collection? Browse curated Paralives mods and CC or visit Paralives Mods for the latest editor picks.